Can Baking Powder Go Bad?: Baking powder and baking soda are the two essential ingredients that we commonly found in every household. But most of us don’t know that they eventually start to lose their potency after enough time that they have on the shelf. If you probably can’t remember when you bought the packet of baking powder sitting in the kitchen, then it’s time for the new box.
Baking powder is a mixture of baking soda, cream of tartar, and cornstarch. Here in this article, we have provided everything on can baking powder go bad? like the shelf life, storage tips, and many more. Start reading to know more!!
- Can Baking Powder Ever Go Bad?
- How Long Does Baking Powder Last?
- How To Test If Baking Powder Is Still Good?
- Can You Substitute Baking Powder For Baking Soda?
- How To Identify Baking Powder and Baking Soda?
- How To Store Baking Powder?
- Interesting Facts About Baking Powder
- What are the types of baking soda?
- Can you freeze baking powder?
- How do identify the unusable baking powder?
Can Baking Powder Ever Go Bad?
Yes, baking powder does go bad, although it has an indefinite shelf life, it loses its potency over time if you do not store it properly. It won’t do anything when you prepare pastries, they will go flat and dull. The box you will get with the “best by date”, tells you how long the product will be good. An unopened pack of baking powder will stay fresh and retains its potency after its expiry, but an opened pack will not stay for a long time.
Baking powder doesn’t get mold easily, but if you see any mold growth and if you see any bugs in the powder it’s time to throw it out.
How Long Does Baking Powder Last?
Baking powder should be used before its expiry and if it is stored properly you can use it a few more months after expiry. The date is more like an estimate rather than an exact indicator. If you are confused, just check out the table that was given below.
| Unopened/Opened | Pantry | |
| Before Best-by Date | Past Best-by Date | |
| Unopened baking powder | 18 to 24 months | 6 months |
| Opened baking powder | 6 months | Not recommended |
Anyways, whenever you use the baking powder it is better to test if the baking powder is good or if it has lost its potency. So that you will not get upset after cooking the dish.

How To Test If Baking Powder Is Still Good?
Every time it is very difficult to tell if the baking powder has gone bad or not. If you have mold growth or if you have bugs in it, you can easily tell that it has gone bad. But if it is perfect and it is past the best date it is a little difficult task to tell whether we can use it or not. If you have an opened pack and want to know its potency just test the baking powder as given below.
Take a teaspoon full of baking powder and toss it into a half cup of hot water. If it bubbles, then the baking powder has its potency use it in your baking. If it doesn’t bubble, throw it outside.
How To Identify Baking Powder and Baking Soda?
Both baking powder and baking soda are leavening agents that are used in baking. Many of us will get confused between baking powder and baking soda as they are the same in their appearance. There is a slight difference between them in texture. But this is a very minor difference. If you take both of them into your hand it is very difficult to tell which is baking soda and which is baking powder.
We have a similar test to recognize baking soda and baking powder. As baking soda doesn’t react with the water alone, so you need lemon juice or vinegar. So, first, test the powder by adding hot water, if it reacts it is baking powder, otherwise, it is baking soda.

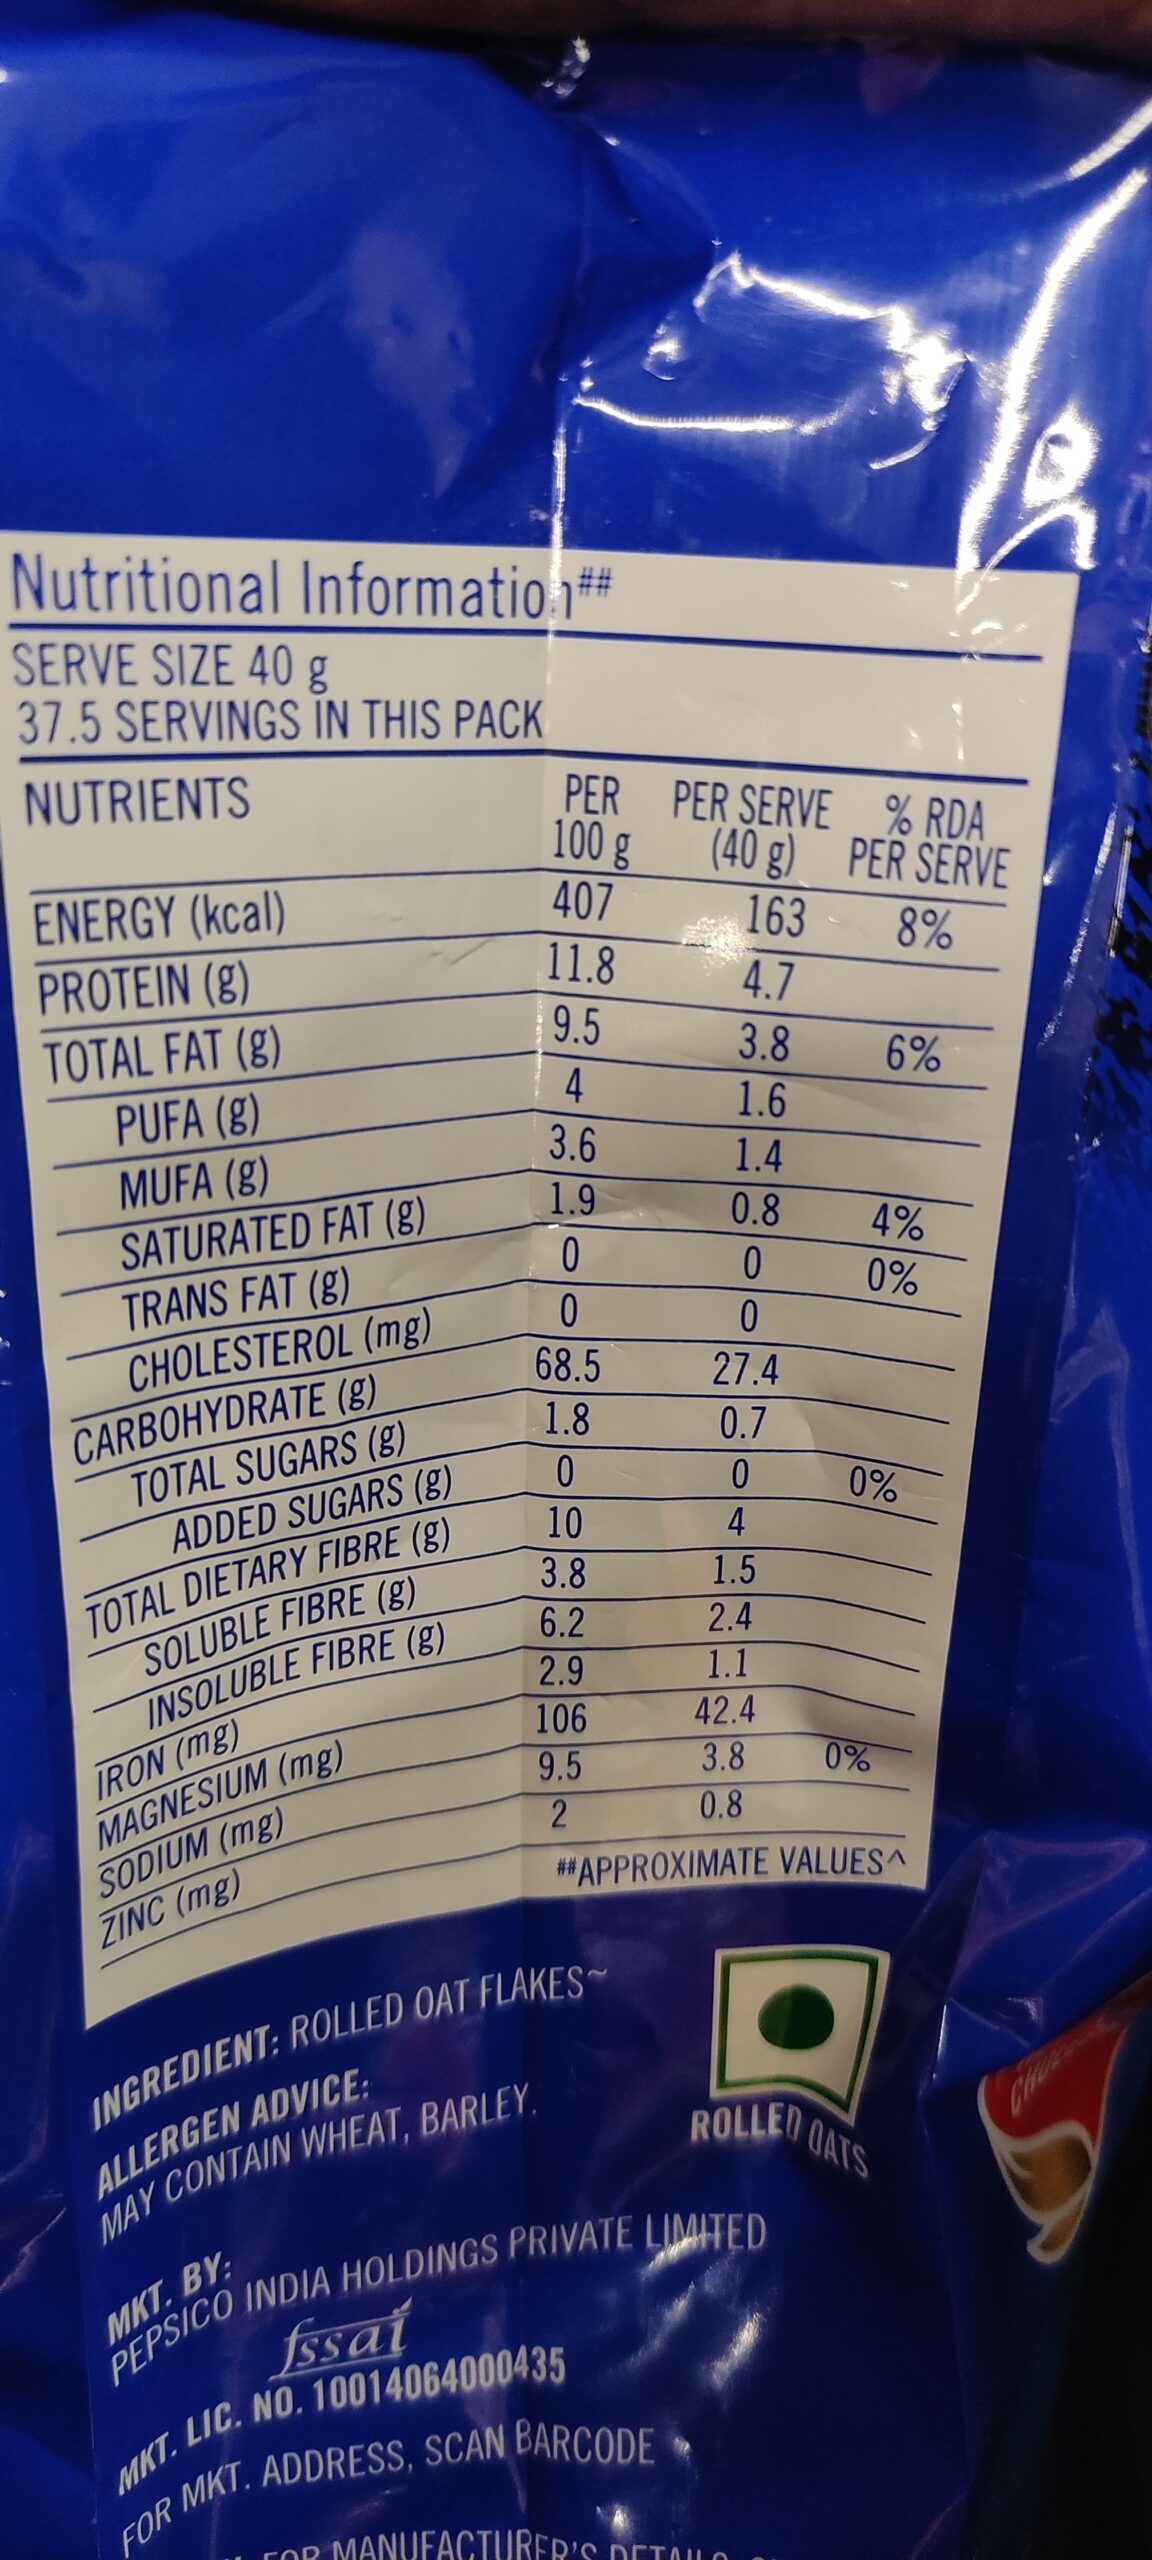
Ingredients:
Maize Starch, Sodium Bi Carbonate, Sodium Aluminium Sulphate.
Nutritional Information
| Nutrients | Per 100 g | Per serve 1.5 g (1/2 tbsp.) | % RDA Per serve 1.5 g (1/2 tbsp.)# |
| Energy (kcal) | 136 | 2 | 0.1% |
| Protein (g) | 0 | 0 | 0% |
| Carbohydrates (g) | 34 | 0.5 | 0% |
| Added Sugar (g) | 0 | 0 | 0% |
| Total Fat (g) | 0 | 0 | 0% |
*Approximate value
#%Contribution to RDA is based on a 2000 calorie
How To Store Baking Powder?
Baking powder should be stored properly as we store other baking goods or powdered products, like wheat flour, cream of tartar, and many others. Below are some of the tips to store baking powder in the right way.
As baking powder absorbs moisture from the surroundings very easily. Make sure to store it in a cool, dry place. It is always better to store it in a pantry, but it should be away from the heat sources that we have in the kitchen and from direct sunlight.
Keep Baking Powder Away from Strong Smells
When you are storing it in a dry area make sure that you don’t have the products which give you a strong odor. As it is a powder, it can take the smell easily from the adjacent foods. By that, it may lose its efficacy quickly.
Make Sure the Container is Tightly Sealed
When you open the baking powder, it is better to store it in a container and keep the lid tightly. So that we can use it for a long time and it will not absorb any smells from outside and also it will not allow any moisture into it by sealing it tightly.
And the final tip for storing the product is, when you measure the baking powder or when you want to take the baking powder from the container to transfer it into a bowl for cookies, make sure to use a dry spoon. So that the moisture or water content will not go in.
Related Articles:
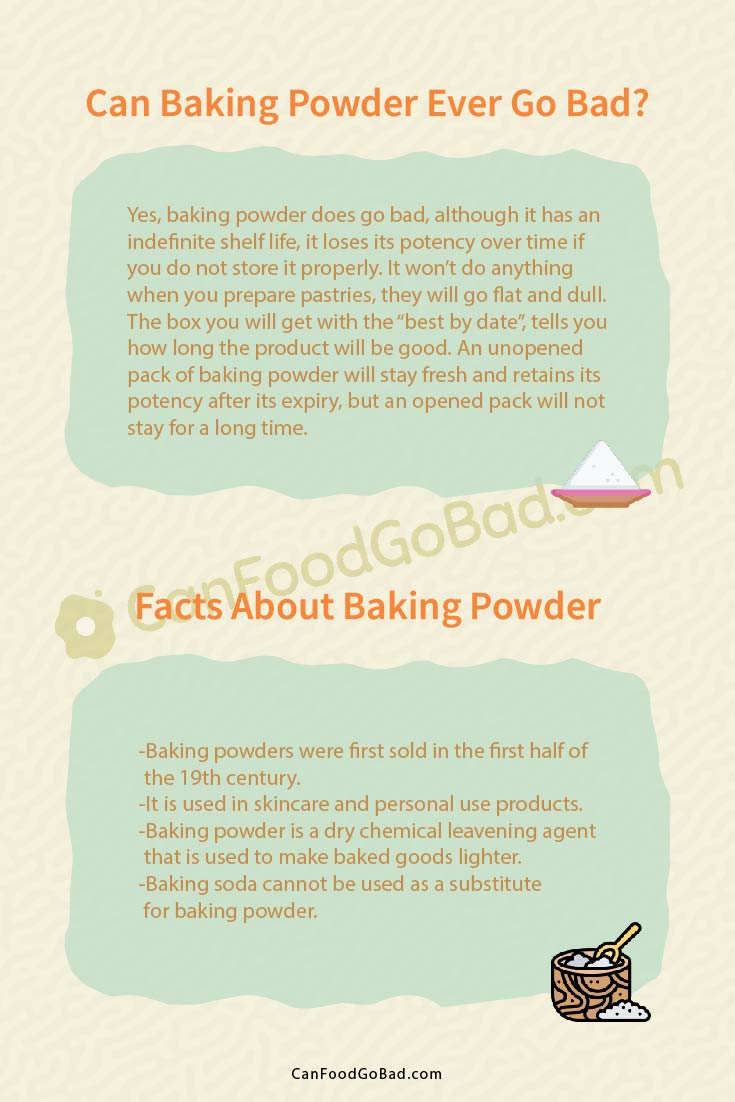
Interesting Facts About Baking Powder
Here we are going to provide you with some interesting facts that you should know about baking powder.
- Baking powder is used in the fire extinguishers because it manages to produce foam, as you will get a soapy texture, and it will help in dousing flames.
- Baking powders were first sold in the first half of the 19th century.
- It is used in skincare and personal use products.
- Baking powder is a dry chemical leavening agent that is used to make baked goods lighter.
- Baking soda cannot be used as a substitute for baking powder.

FAQs on Does Baking Powder Go Bad?
1. What are the types of baking soda?
In baking powder, we have 3 types, they are fast acting, single acting, and double acting.
2. Can you freeze baking powder?
No, you cannot freeze the baking powder, once it is frozen it cannot go back to its powdery state. So that it will not last long. Anyways, if you still want to store it, you can store it in a container and it will last longer if you keep the lid tightly.
3. How do identify the unusable baking powder?
If your baking powder has expired it will get fewer bubbles, minimal fizzing, and clumps of powder floating on the water. The hot water test will tell you easily whether to use it or not.
Key Upshots
Hope you have satisfied with the information that was provided by our team on can baking powder go bad?. When you are using baking powder or baking soda always test before using it. By storing it properly you can use it for a long time. Stay connected with our site for more food-based articles.